Free fake email with Freenom
Freenom ran the best-known version of the free-domain model. It issued names in five top-level zones — .tk, .ml, .ga, .cf and .gq — at no cost, and renewals were free as well.
The catch was never the price. Freenom gave domains away freely and took them back just as freely, often without explanation. Following the registrar's own rules and recommendations improved your chances of keeping a name for a long time, but nothing guaranteed it. That is why the advice on this page was always the same: if you need dependable access to a domain, buy one, and preferably from a different registrar.
For receiving mail, a Freenom domain behaved like any other. Pointed here with a single MX record, it delivered to a fake email address exactly as a paid domain would.
The walkthrough started at the registrar’s own site, where you looked for an available domain.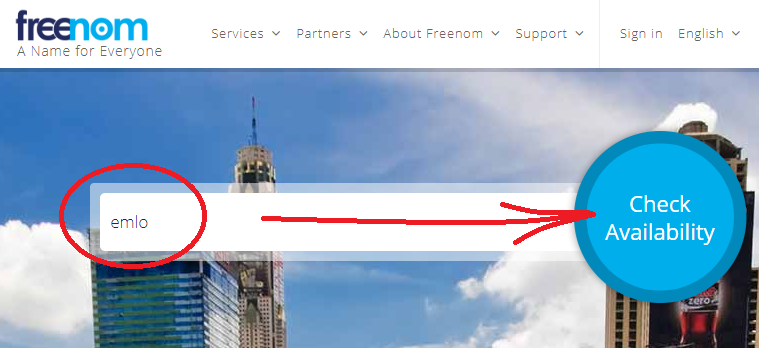
If the name was available, you could register it.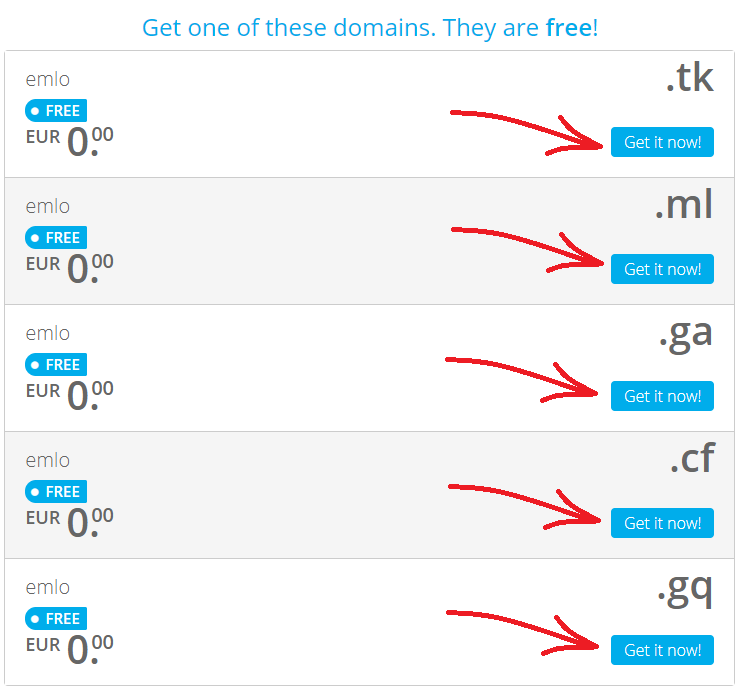
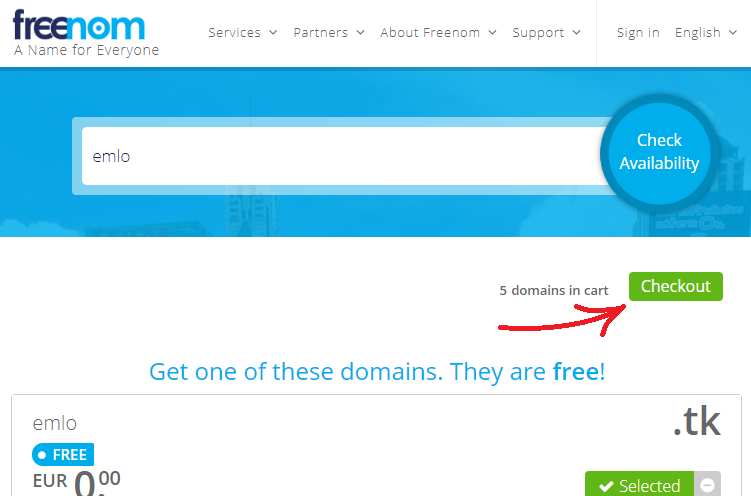
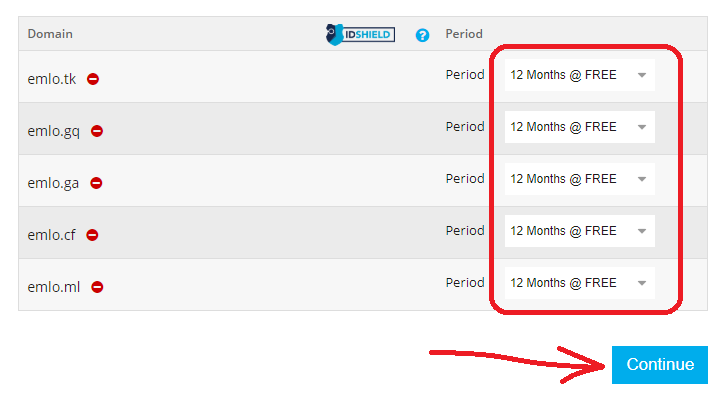
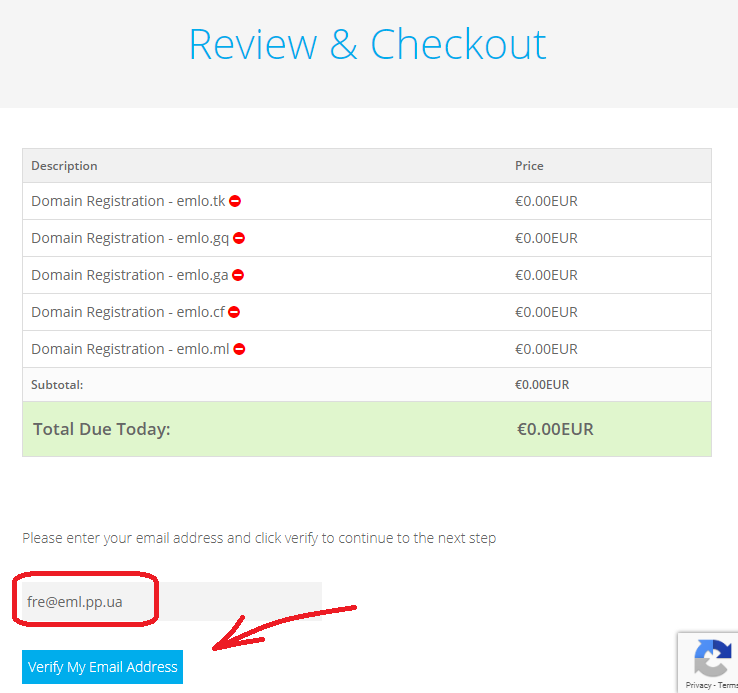
Signing up needed an email address, and a fake email address was enough to get past that form. It was a bad idea all the same, and it still is anywhere else: the mailbox on a registrar account is what resets its password, so it is the key to the domain. Addresses here have no password — the worked example at another registrar explains why that matters.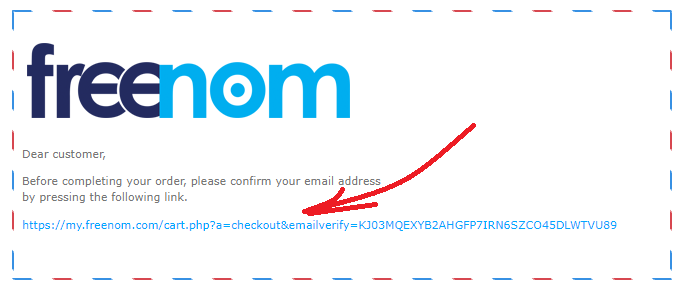
The registration form was filled in with invented details — a name, an address, a phone number. That was normal practice at the time, and it is worth saying plainly that it is a bad idea anywhere else: registrars are required to hold real contact details and to verify the address, and an ignored confirmation suspends the domain weeks later, when nobody connects the two. The worked example at another registrar covers that step properly.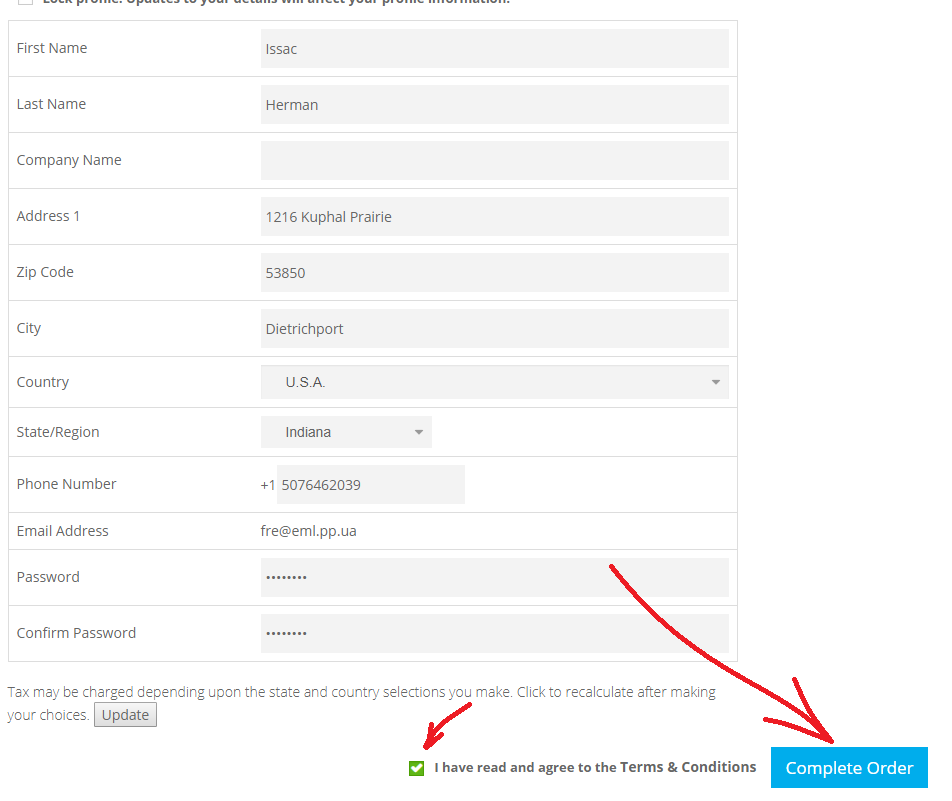
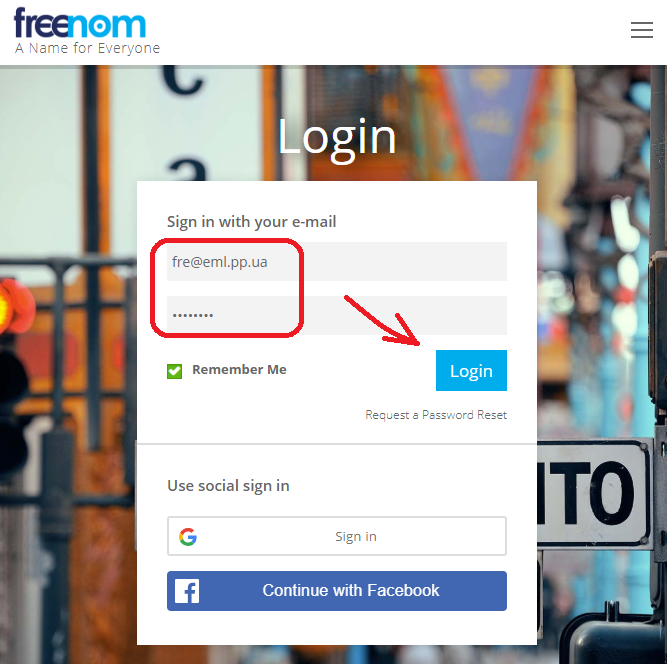
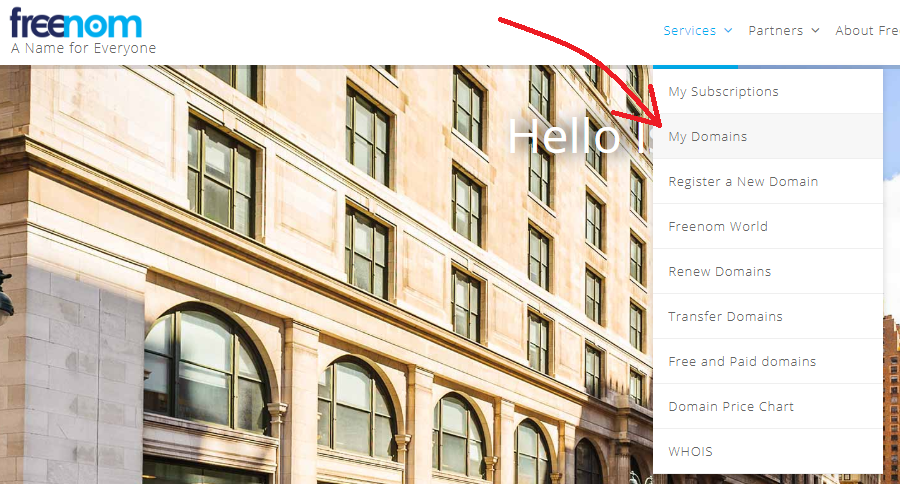
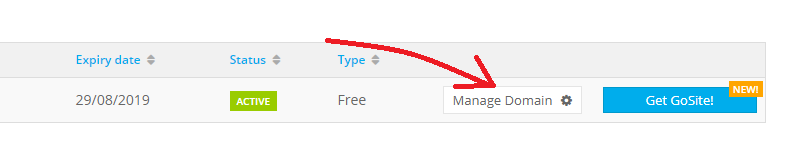
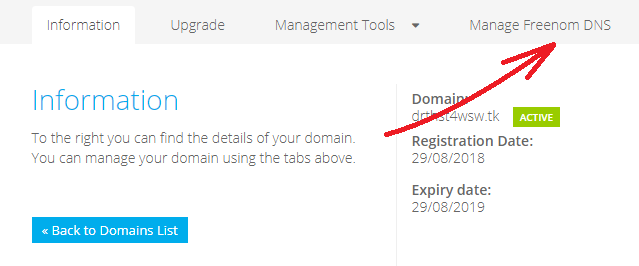
The last step was the MX record. Its values are the same at every registrar and are listed in Add new fake email domain name.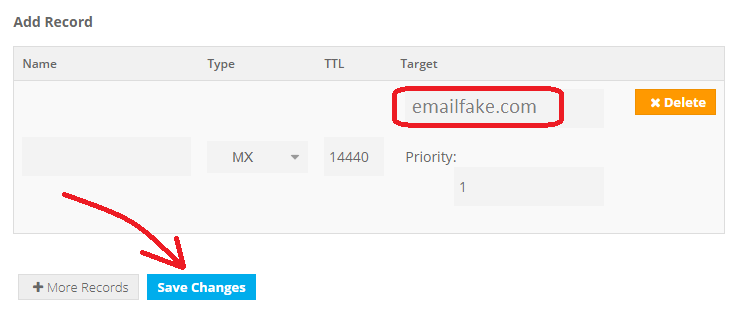
Save, then wait for the new records to take effect.
Once the record had spread, the domain worked here like any other.
Checking the record is the one part of this walkthrough that still applies. If a record you have added does not seem to take effect, the domain debugger will show what the domain's own name servers are answering right now.